One of my favorite parts of our budget bedroom makeover is the closet door transformation (you can see a video of the room makeover here). Since the bed faces the closet doors I knew I need to do something that would make a big impact on the look without spending a ton of money. The doors are literally floor to ceiling metal doors on a track. While they are great function-wise allowing access to the very top of the closet, they definitely looked their age-about 42 years old.

My first step was a little recon trip to Lowe’s to learn more about closet doors. After perusing the closet door aisle and talking to an associate I learned that what I feared was true. They just don’t make ‘em like they used to. To get closet doors in the size we need would’ve cost well over our $300 budget. If we opted to buy traditional doors that they had in stock we’d have to create a drywall header for the doors. That meant framing, drywall, and lots of time I didn’t have. It probably would’ve come in close to our $300 budget anyhow so back to the drawing board I went.
While I was making my way through the store for some other supplies the idea to spray paint the doors dawned on me. I’ve spray painted hooks, tables, and even a lamp so why not closet doors?
After a discussion with my husband we decided to go for it. The worst case would be that we had to replace the doors anyway, and the best case was that it would work. Fingers crossed I picked up a few cans of spray paint. On the first two doors I used Valspar spray paint in white that I had on hand, but it just didn’t coat well. So back to the store I went and picked up 5 cans of Rust-oleum’s spray paint in white in a semi-gloss finish. I wanted some shine, but not too much shine.
Let’s take a look at the before. You’ll notice I was too eager to get a before shot of the doors in place.

How to Spray Paint Metal Closet Doors (or just about anything)
Step One: Take it outside. First up I removed the closet doors. While they are big and bulky the removal process was pretty simple-simply removing two screws.
Step Two: Clean it off. I paid the kids to wash the doors down with the hose. They were pretty filthy (especially on the inside), and then let them dry. I went over them with a damp cloth and scrubbed them as needed with a little Mrs. Meyers cleaner.
Step Three: Prep a space to spray paint. On a not too windy, not wet day I laid out plastic tarps and laid the doors down to paint.

Step 4: Spray it on then repeat.

While you can use primer it’s not necessary anymore with most spray paints. After a good shaking I was ready to paint. Read the instructions on your spray paint for more info. Light coats are the name of the game when it comes to spray painting anything.

I took my time and did light coats. It took about 2 full coats and some touch up on the sides and edges.
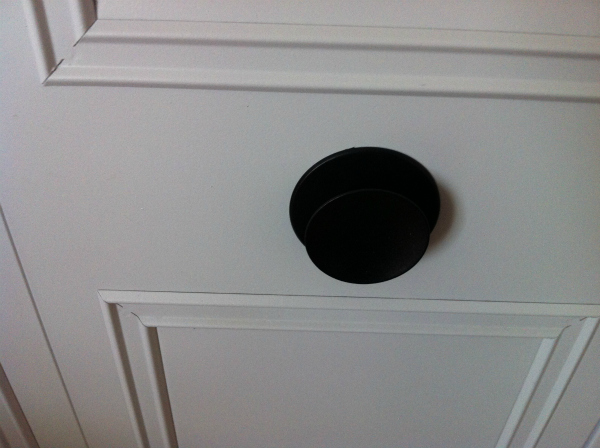
Step 5: Dry ‘em out. Once they were dry they just had to wait for the rest of the room to be done. I also spray painted the handles with oil rubbed bronze spray paint I had on hand.

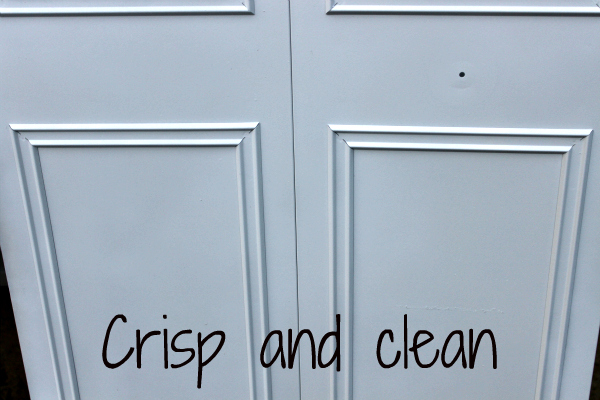
Step 6: All done! Install the doors and stand back and admire my handiwork.

They look a little patchy in the photos but in person they are crisp and white. Much lovelier than waking up to rust and dingy doors every morning. There’s nothing like waking up to a crisp and clean view now. My only regret? Not doing this sooner!
Let’s look at the before and after together.
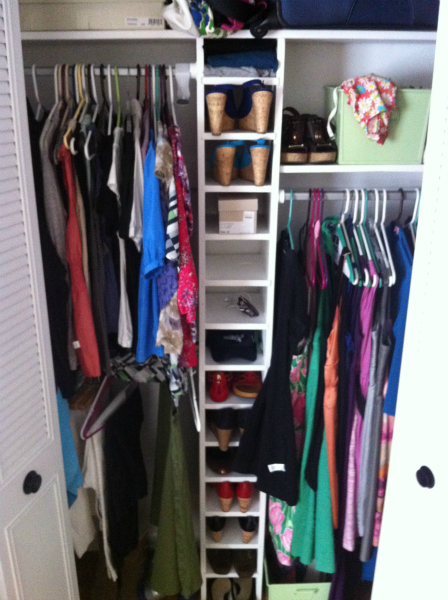
Just because you made it to the end I’ll show you a little peek into the interior as well. Yes it always looks that way. I’m kind of OCD about the interior of the closet. Just don’t look at the piles of clothes that need to be put away on my dresser. ![]()

Have you ever spray painted anything? Leave me a comment with what you’ve done or would consider doing with spray paint.
Kelly
Disclosure: As a member of the Lowe’s Creative Ideas Bloggers and Creators Network I received a $300 gift card to aid in the purchase of supplies for this project.
Don’t miss a single post! Subscribe to my RSS feed or sign up to have my posts delivered to your email.


Pingback: Master Bedroom Ideas: Nautical Romance